
Make Do and Mend: Japanese sashiko visible mending technique
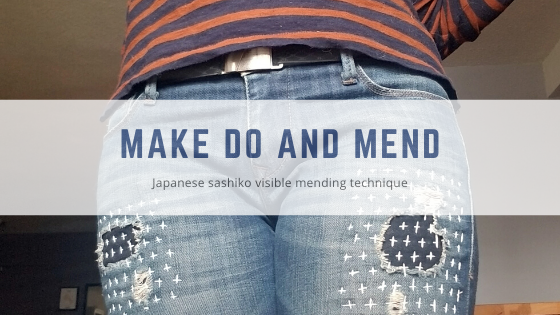
Visible mending has regained popularity lately, especially with the zero waste crowd. It makes sense considering that the fashion and textile industries tend to create a lot of waste, it's best to try and get the most wear from our clothes. Today I'd like to share my experience trying the Japanese shashiko technique on a favourite pair of jeans.
Sashiko (literally "little stabs" or "little pierce") is a form of decorative reinforcement stitching (or functional embroidery) from Japan that started out of practical need during the Edo era (1615-1868). Traditionally used to reinforce points of wear or to repair worn places or tears with patches, making the piece ultimately stronger and warmer, this running stitch technique is also used for purely decorative purposes in quilting and embroidery.
Tutorial adapted from: Aborderie - how to mend your clothes with beautiful japanese sashiko
Make Do and Mend: Japanese sashiko visible mending technique
You will need:
- Item with a hole
- Fabric patch
- Fabric scissors
- Pins
- Sashiko or long embroidery needle
- Sashiko or embroidery thread
- Taylor’s chalk

1. Gather your supplies and cut your fabric patch to cover your hole with a few centimetres around the edge. I forgot to do this but I definitely recommend cutting with pinking shears or serging the edges of your patch to prevent fraying. Pin or baste your patch to the back of the hole in your garment. I chose to baste with a contrasting colour thread.
2. Flip your garment right side out. If you basted with contrast thread, you'll easily be able to see where the edges of your patch are. Mark out your grid, if desired. Some folks like to go right in to their stitching but I found that marking out a grid with tailor's chalk kept me on track.


3. Thread your needle and knot the end of the thread. Starting on the inside of the garment, in an area where the garment is still intact (i.e. not where the hole is!) bring the needle up through the patch and fabric to the right side, then tug the thread to bring the knot between the patch and the garment fabric. Using your grid as a guide, bring the needle down and up through the fabric several times, until you have your needle loaded, then pull the needle through to create your stitches. Loading the needle like this is part of the tradition of sashiko and helps to create even stitches. Repeat for all horizontal stitches, followed by your vertical stitches to make the little cross pattern.
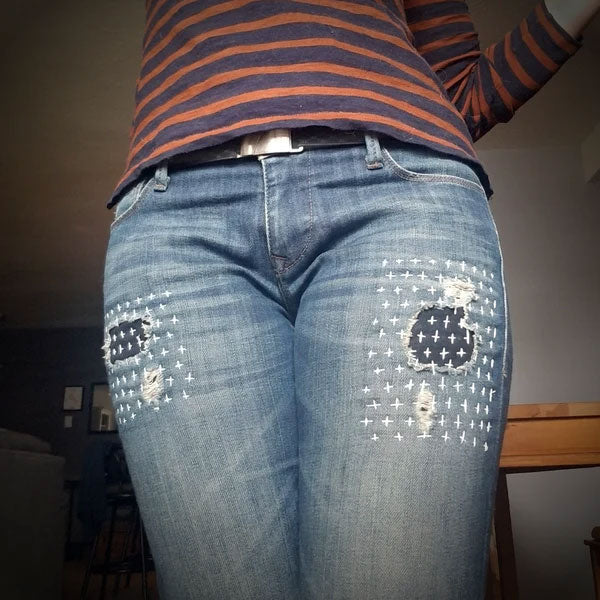
4. Admire your work and wear your mended garment with pride!

1 comment
Looks nice! I am going to try it!